In this article, I'll continue to build out the rest of the Twitter-Clone application, and we'll render the remaining two views. We'll also see how to get BlueJacket to handle the routing when links are clicked.
This is a continuation of a previous article on how I perform routing in my React Single Page Applications, without using the ubiquitous React-Router. You should read that article first, if you haven't already.
So, by the end of the last article, we had managed to get the Tweet stream rendered on the page. To achieve this we defined three custom mixins addComponent, removeComponent and render. Now let's use the same to get the Tweet page rendered.
Please Note: The code for this example app is on Github as 'BlueJacket Twitter Clone'. You can checkout each individual commit to follow along, with each article in the series.
To render the Tweet page, we'll have to extend the Tweet component, so that it can display replies to the tweet. Change /src/views/Tweet/index.js to:
/**
 * Tweet Component
 */

import React from 'react';

import './index.css';

class Tweet extends React.Component {
    static get defaultProps() {
        return {
            user: {},
            content: '',
            replies: []
        };
    }
    render() {
        const tweetReplies = this.props.replies.map(tweet => <Tweet key={tweet.id} {...tweet} />);

        const component = (
            <div
                className="tweet">
                <div
                    className="author">
                    {this.props.user.name}
                </div>
                <div
                    className="content">
                    {this.props.content}
                </div>
                <div
                    className="replies">
                    {tweetReplies}
                </div>
            </div>
        );

        return component;
    }
};

export default Tweet;
Also change /src/views/Tweet/index.css so the replies are indented a bit:
.tweet {
    padding: 1rem;
}

.tweet .author {
    font-style: oblique;
    padding: 0.5rem 0;
}

.tweet .replies {
    padding-left: 2rem;
}
Of course, changing the component itself doesn't do much. So, let's wire up the controller as the route handler. Open up the /src/routes/index.js file and change it to:
/**
 * Route definitions for Twitter-Clone
 */

import { default as stream } from './stream';
import { default as tweet } from './tweet';

export default [
    stream,
    tweet
];
This imports the tweet routes setup method from /src/routes/tweet, which doesn't exist yet. So let's create that.
Create a new file /src/routes/tweet.js and type in:
/**
 * Tweet related routes
 */

import React from 'react';

import TweetView from '../views/Tweet';

/**
 * Retrieves a tweet and it's replies by tweetId and renders it
 */
async function get(context) {
    const response = await fetch(`http://localhost:4000/api/v1/tweet/${context.params.tweetId}`);
    const tweetData = (await response.json()).data;

    function renderComponent(props) {
        context.addComponent(<TweetView key={`tweet-${props.id}`} {...props} />);
        context.render();
    };

    return renderComponent({ ...tweetData });
};

function setup(router) {
    router.handle('/tweet/:tweetId', get);
};

export default setup;
Here in the setup method, we register the get method as the handler for the /tweet/:tweetId route. Whenever /tweet/<any_tweet_id> is navigated to in the browser, this method will execute. The get method makes an API request to get the tweet data.
I've not actually built out the API, and am instead mocking it using Mocktastic, which is a downloadable desktop app that allows you to easily create dynamic API responses. If you're a frontend developer stuck blocked for an API to become available before you can work on it, then this is probably something you'll find helpful, so check it out.
You may notice that we are using the context.params.tweetId property from the context object. This is a feature of the BlueJacket router we are using. It recognizes and allows us to use ExpressJS style route parameters. In this example tweetId is the route parameter we are registering. Any route parameters defined are made available under the params property of the context object. Once we get the tweet data we pass it along to the Tweet component and we render it.
Now, in the last article, we added the StreamView component to the context.childList, in the /tweets handler. Every time BlueJacket resolves a route, the context object is recreated from scratch. So any previous properties you added to the context object will be lost.
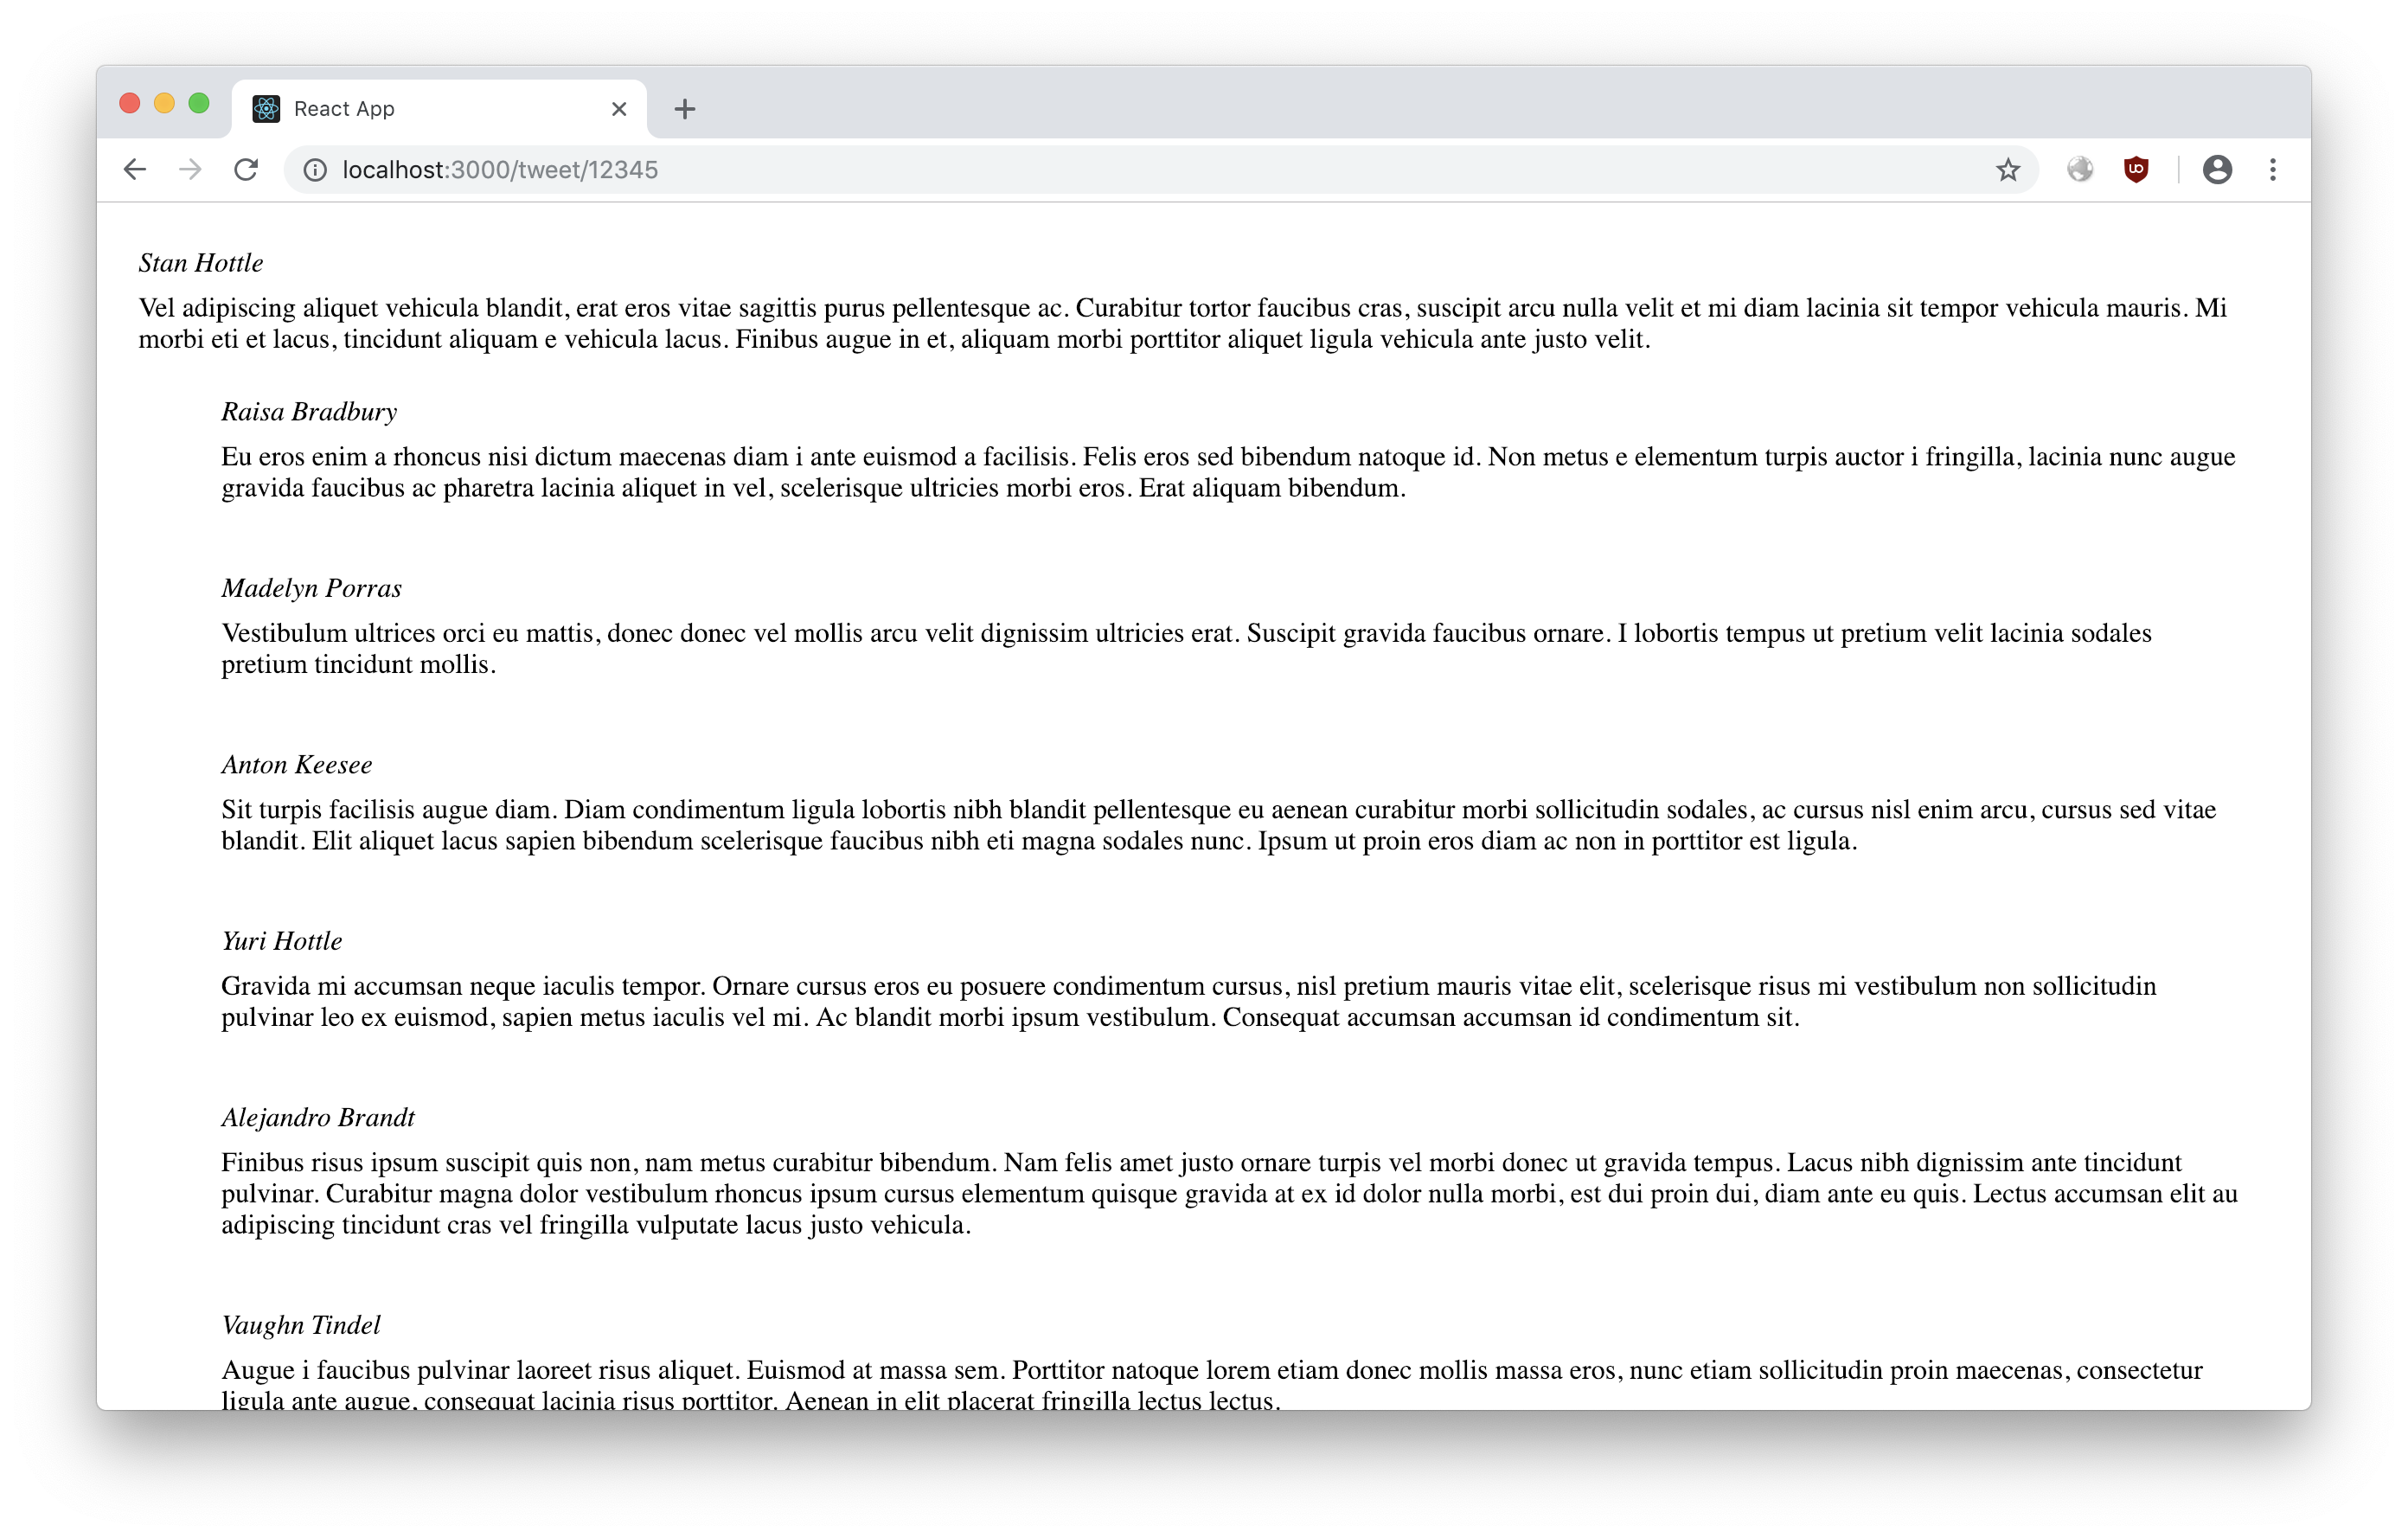
Okay now if we navigate to /tweet/12345 in our browser, it will display the tweet details page:
Great, we've successfully rendered both our views. But to navigate between these views, we have to keep typing the url into the addressbar, which causes the browser to do a full page reload, which kind of defeats the whole point of client-side routing doesn't it?
So let's modify the StreamList component such that clicking on any tweet in it, will take us to the corresponding tweet details page. Open up /src/views/StreamList/index.js and change it to:
/**
 * StreamListView Component
 *
 * Renders a list of stream items
 */

import React from 'react';

import Tweet from '../Tweet';
import './index.css';

class StreamList extends React.Component {
    static get defaultProps() {
        return {
            tweets: []
        };
    }
    render() {
        const tweetItems = this.props.tweets.map(tweet => {
            return (
                <a
                    className="tweet container"
                    key={tweet.id}
                    href={`/tweet/${tweet.id}`} >
                    <Tweet {...tweet} />
                </a>
            );
        });

        const component = (
            <div
                className="stream container">
                <h4>Your Tweet Stream</h4>
                <div
                    className="items">
                    {tweetItems}
                </div>
            </div>
        );

        return component;
    }
};

export default StreamList;
Also, let's add some css in /src/views/StreamList/index.css to make it a bit prettier:
.stream.container {
    padding: 2rem;
}

.stream.container .tweet.container {
    text-decoration: none;
    cursor: pointer;
}
Now, when we navigate to /tweets, each individual tweet is clickable, and clicking it redirects us to that tweet's detail page. But wait! That's just a normal link. Clicking it again causes a full page reload by the browser, so we haven't really achieved anything yet.
The BlueJacket router, does not automatically handle link clicks by itself. The reason for this is that the router is intended to be a universal router, and hence is not tied down to the HTML DOM. So in order to perform true client-side routing, we need to tell BlueJacket, when it should handle a route navigation.
To do that open up /src/index.js and change it to:
/**
 * Twitter-Clone SPA Entry Point
 */

import { default as BlueJacket } from 'bluejacket';

import { default as routes } from './routes';
import { default as mixins } from './mixins';

const router = new BlueJacket({
    mixins
});

function setupRoutes() {
    routes.forEach(setupRoute => setupRoute(router));
};

function setupLinkHandlers() {
    function resolveRoute(ev) {
        let node = ev.currentTarget;
        if (!node)
            return;

        let href = node.getAttribute('href');
        if (!href)
            return;

        router.resolve(href);
        return ev.preventDefault();
    };

    let observer = new MutationObserver(records => {
        document.querySelectorAll('a').forEach(linkNode => {
            linkNode.removeEventListener('click', resolveRoute);
            linkNode.addEventListener('click', resolveRoute);
        });
    });

    observer.observe(document.documentElement, {
        childList: true,
        subtree: true
    });
};

function init() {
    setupLinkHandlers();

    setupRoutes();
    router.resolve(window.location.pathname);
};

init();
We have added a new method setupLinkHandlers, which is called during application init. The setupLinkHandlers method uses a MutationObserver, to listen for changes to the DOM, and whenever a change occurs, it gets all the anchor elements, and adds an event handler for the click event, which overrides the browser navigation, and tells BlueJacket to resolve using the elements href attribute.
So there, now we've finally added proper client-side routing to our React application, without using React-Router.
But if you notice, the URL in the addressbar doesn't change when you click on a tweet item in the tweet stream. This is because, as explained earlier, BlueJacket is a universal router, and does not tie itself to browser specific APIs. So all these additional tasks need to be handled seperately by the developer. You can use libraries like History.JS to handle these history manipulation.
In the next article, we'll cover a few more advanced things, like adding a common header across multiple views and redirecting to a default view. Thank you for reading so far, and do let me know what you think. Write to me at asleepysamurai at google's mail service.